
Install and remove board cores (AVR, ESP32, STM32...) and make new boards available in the Board Selector.
Board Manager
Every microcontroller family (Arduino AVR, ESP32, STM32...) needs a software core to be compiled by the cloud compiler. The Board Manager installs these cores.
Icon: 🖥️ (CPU)
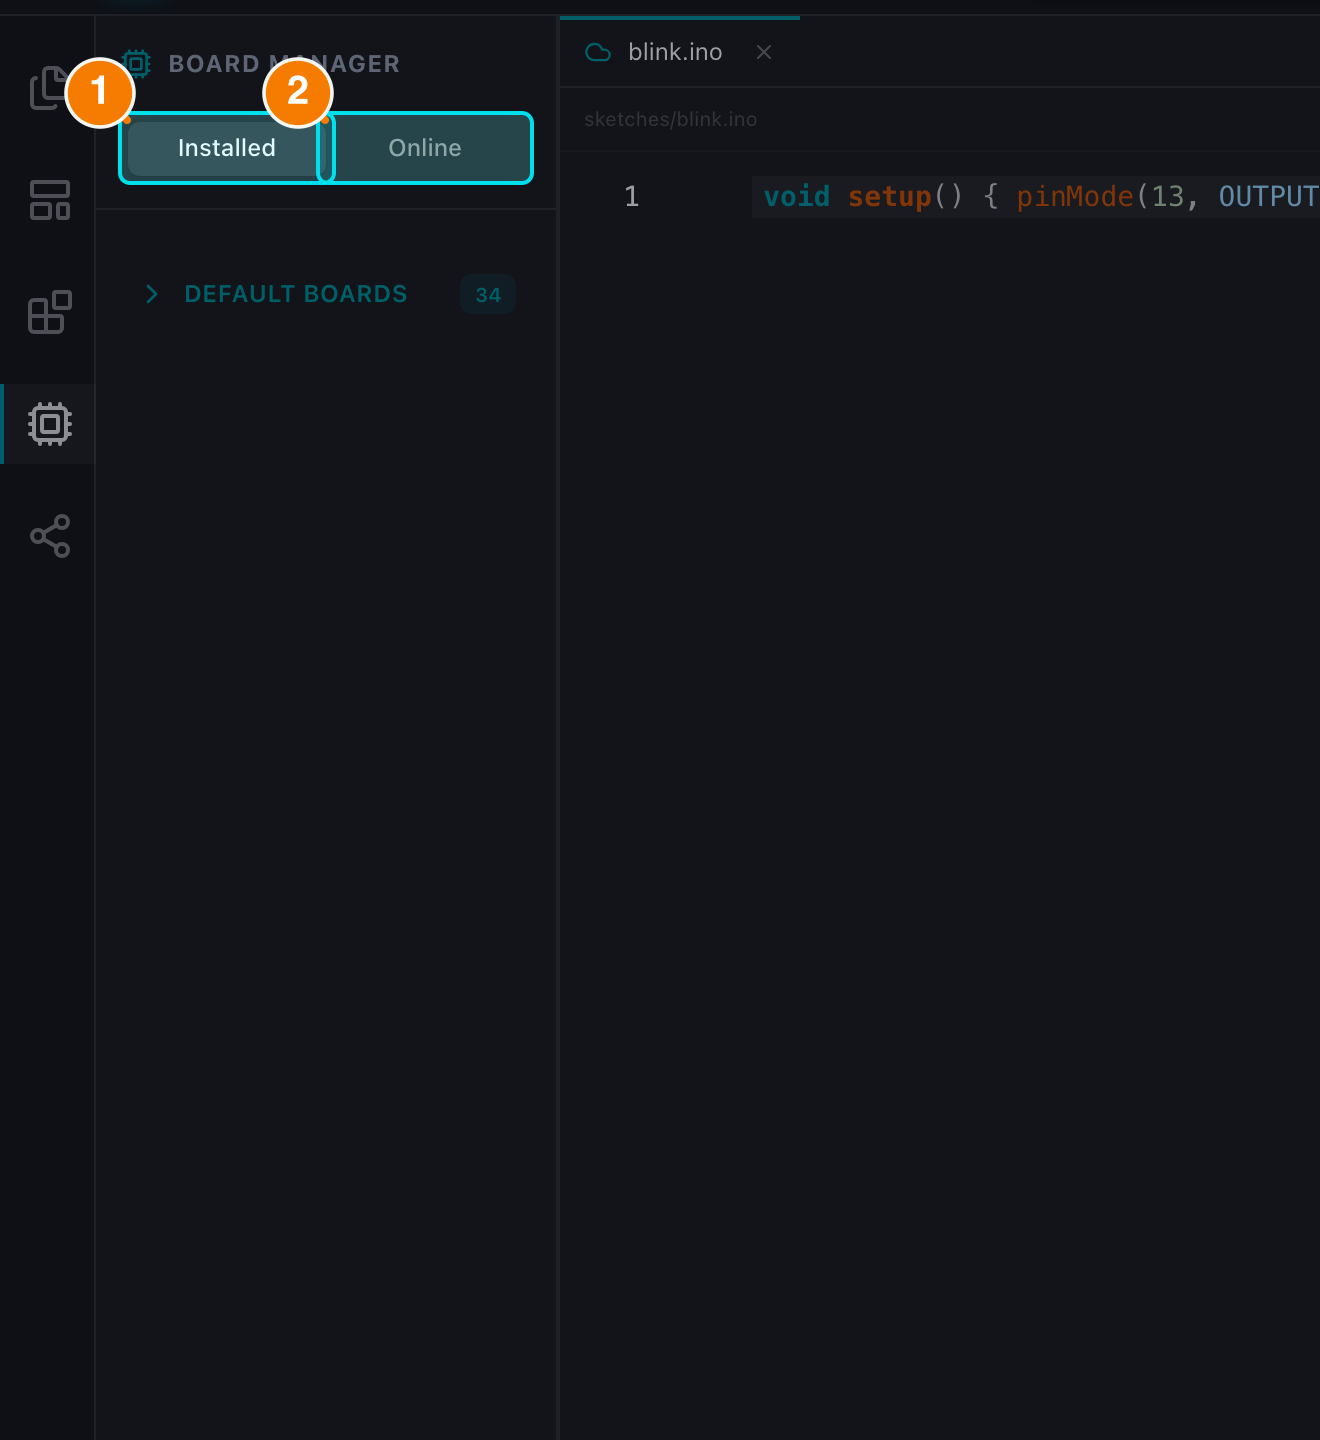
(1) Installed cores. (2) Online tab.
Structure
Like the Library Manager, it has 2 tabs (the Installed tab is the default):
1. Installed — default
- Your Boards: cores you installed yourself.
- Default Boards: cores supported out of the box (Uno, Nano, Mega...). This section is collapsed by default to save space.
- Uninstall: remove an installed core. Uninstalling the board currently selected in the Header does not auto-switch it — re-select a board in the Board Selector afterwards.
2. Online
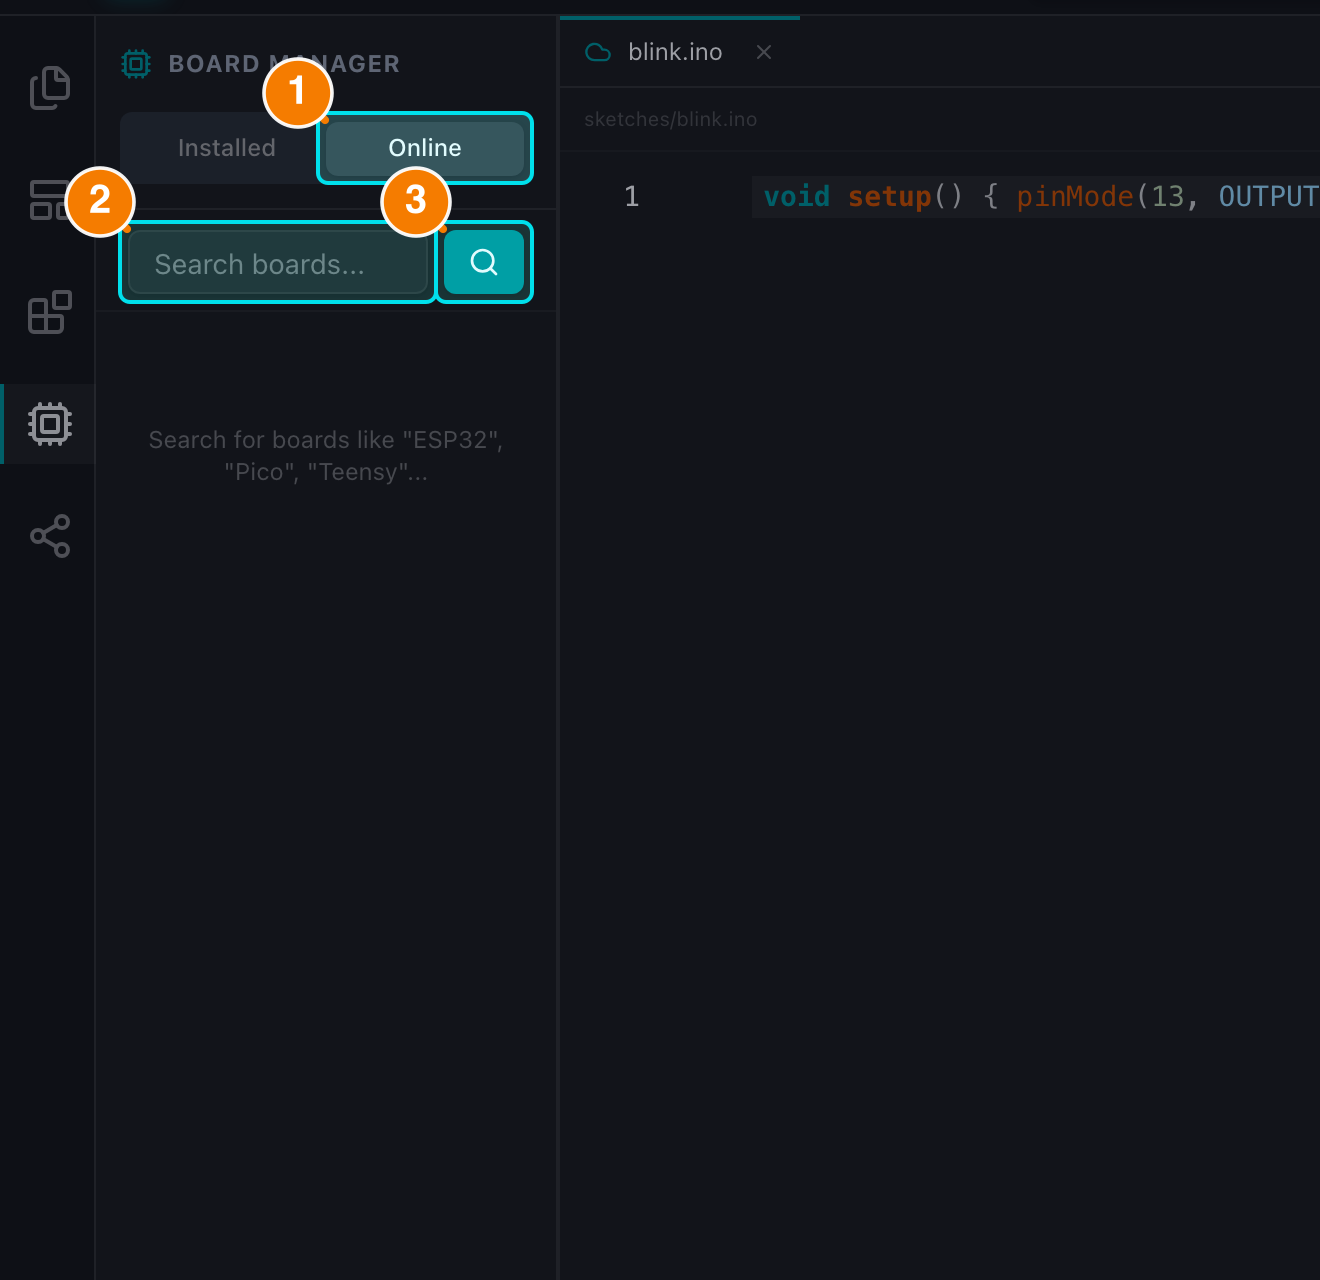
(1) Online tab. (2) Search box. (3) Search.
- Search: type a chip family or board name (e.g.,
esp32,stm32,samd,rp2040). - Install: find the package (e.g., "esp32 by Espressif Systems") and click Install. A spinner is shown while the core is downloaded — cores are larger than libraries, so this can take a while.
- Uninstall: installed cores can be removed from the Installed tab.
When Should You Use It?
- Only when you start working with a new chip family — for example the first time you move from an Uno to an ESP32.
- After installation, the new boards appear in the Header's Board Selector and can be used for compilation and upload.